


 400
400 7
7 1
1 4
4 1
1 0
0


Super easy step-by-step Mason Jar Drawstring Bag tutorial to hold all your mason jar lids. It has a cute drawstring tie to keep everything inside! This tutorial is designed for beginners to advanced sewers. If you can sew, you can do this!
This is such a fun bag. You can use it to hold your Mason jar lids or any of your other canning items.
Or just use it for a general bag.
Just follow the step-by-step instructions and you will be done in an hour or less!
As always, if you have any questions feel free to ask me! ![]()
Prewash your fabric so it won’t shrink when you wash it!
Here’s the supplies you will need:
Fabric for the bag
Fabric for the Mason jar
Twine or ribbon for the drawstring
Double-sided heat bond interfacing (optional)
Pinking sheers (optional)
Print out the Mason jar template at The Creative Goddess. Pin it to your fabric and cut it out.
Cut the fabric for your bag 19 x 9. You will fold the fabric in half, and that will be the size of your bag.
Use pinking sheers to cut the top and bottom edges.
If you’re using double-sided interfacing, iron your Mason jar fabric to one side of the interfacing.
Place a piece of parchment paper over it before ironing.
Fold your bag in half, wrong sides together, then fold the top down about 1-1/2 inch. Position your Mason jar in the center.
Be sure to measure each side so that it’s centered.
Pin in place.
If using double-sided bonding interfacing:
Unfold the bag and iron the back side of the bag over where you placed the Mason jar.
This will bond the Mason jar in place.
If you’re not using double-sided bonding interfacing:
You can just pin it in place.
With your bag unfolded, go to your sewing machine and stitch on top of the Mason jar to outline it,
using thread of your choice.
With your bag still unfolded, iron a hem on each side about 1/4 inch.
Turn each top edge down about 1-1/2 inches. Leaving enough space for your drawstring.
First: Take it to your sewing machine and stitch the ends that you folded down 1-1/2 inch in place.
Leaving enough room for your drawstring to fit.
Next: Fold your bag right sides together. Stitch up both sides stopping where the 1-1/2 inch seam begins.
You don’t want to sew over the 1-1/2 inch so that you will be able to run your drawstring through it.
Turn right side out.
Attach a safety pin to one end of your drawstring and run it through the top.
Keeping it one long drawstring.
This is the finished look.
Congratulations! You did it. ![]()
Want more drawstring bag tutorials:
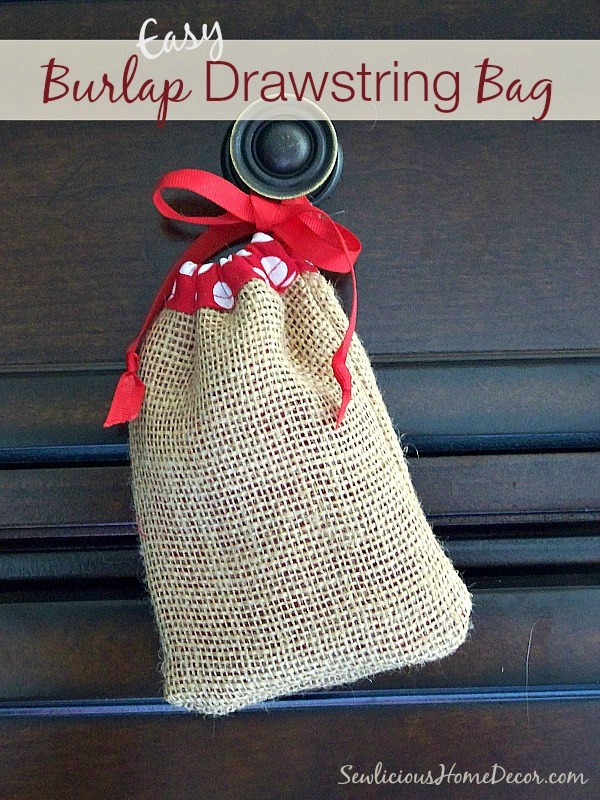
Try this little Burlap Drawstring Bag.
Perfect for holding small things, or cut a larger piece of fabric for a larger sized bag.
Use a Magnetic Pin Holder to store your pins.

Follow SewLicious Home Decor’s board SEWlicious Sew’en Stuff on Pinterest.
Linked up at Showstoppers, Between Naps on the Porch, and at these great parties!

Related Posts
 Valentine Treat Bags with Matching Mason Jars
- How To Make Valentine Heart Window Treat Bags
- Easy DIY Decorated Christmas Bags
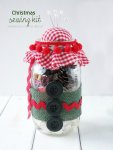 DIY Christmas Sewing Kit
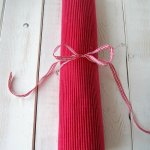 Placemat with Plastic Baggies Sewn Into A Roll up Organizer
- Easy Burlap Drawstring Bag Tutorial
- How to Make Red Valentine Jars with Glitter and Confetti
- Summer Sandal Zipper Pouch Tutorial
40071410 


Your drawstring bag is too too cute!!
Thanks for sharing it with us at Project Inspired!!
Thank you, Diane!
I loved you little burlap bag the other day but this is even more lovely. That little mason jar is so cute.
Thank you, Julie!! I’m glad you like them. I love having little bags to put things in!
Marti, I’m in love with how easy you made this bag! Besides, you always have a great taste in fabric!
Thank you, Gloria!! I love making little drawstring bags, they are so handy to have around! I’m glad you like it and like my fabric!! xoxo I hope you’re having a great Sunday with your boys!
I really need to get back into sewing things! This is an adorable bag to store things in. I heart mason jar anything!
That is so neat that you sew!! I have a bucket list just for Mason Jar crafts! HA I love them, too. I’m so glad you like the bag! I hope you have a GREAT weekend, Jocelyn!!